Here's what nobody tells you about bringing home baby chicks: the brooder setup matters more than the breed you choose. I've watched too many excited homesteaders lose chicks in the first week-not because they didn't care, but because their brooder was cobbled together with whatever they found at the farm store that morning.
The truth? A solid brooder setup isn't complicated, but it is specific. You need the right heat source at the right height, bedding that won't kill them, and waterers that won't drown them. Miss one element and you're troubleshooting at 2 AM with a flashlight and a panicking flock of peeping fluffballs.
I've set up brooders in stock tanks, cardboard boxes, and custom-built wooden enclosures. After five years of spring chick orders and more than a few hard lessons, I've landed on what actually works. Not the Instagram-perfect setup. The one that keeps chicks alive, growing fast, and saves you from constant worry.
The Brooder Box: Size Actually Matters
Your brooder needs at least 0.5 square feet per chick for the first two weeks, then a full square foot each by week four. Most people underestimate this and end up scrambling for a bigger box when their chicks start trampling each other.
A 50-gallon stock tank works beautifully for up to 12 chicks. It's tall enough they can't escape (until week three, when they sprout wing feathers and suddenly become tiny velociraptors). Galvanized metal doesn't absorb moisture like cardboard, and you can hose it out between batches.
Avoid: Cardboard boxes for more than a week. They get soggy, harbor bacteria, and become fire hazards once you add heat. The DIY appeal isn't worth the risk.
The walls need to be at least 18 inches high initially, then 24 inches by week three. Trust me on this-chicks develop impressive vertical leap skills right around the time you stop expecting it.
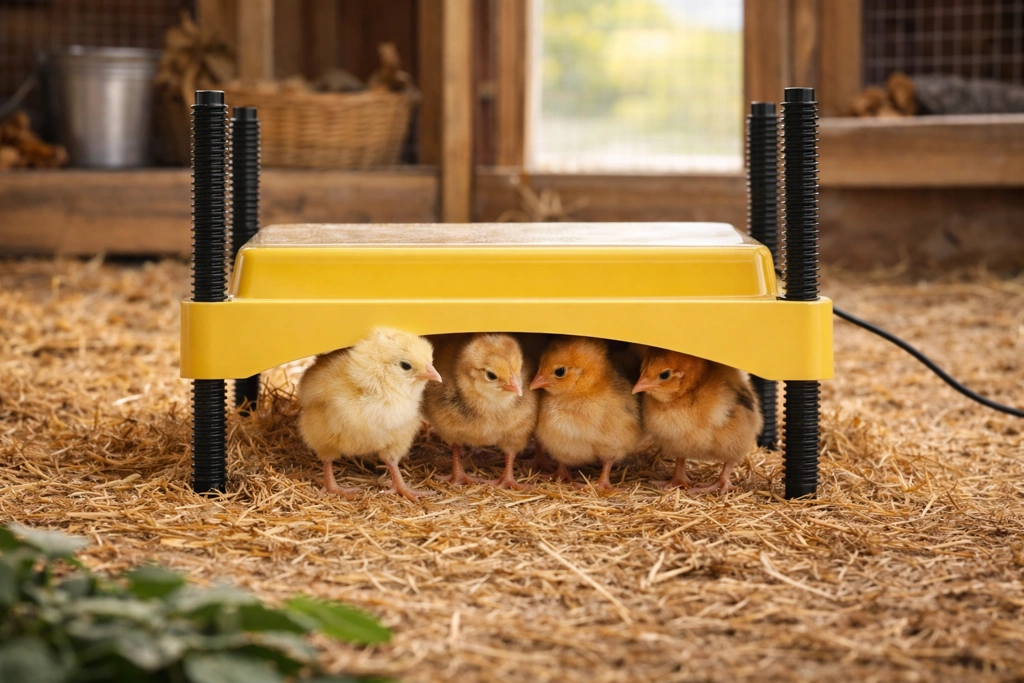
Brinsea EcoGlow Safety 600 Brooder
This radiant heat plate changed how I brood chicks. It mimics a mother hen-chicks walk underneath when cold, walk away when comfortable. No temperature guessing games, no middle-of-the-night thermometer checks.
The EcoGlow runs on 12 watts. My old heat lamp used 250 watts and nearly set the garage on fire twice. This mounts on adjustable legs that you raise as chicks grow, keeping the heat source at the perfect height. It handles up to 20 chicks comfortably.
The surface temperature stays consistent around 110°F underneath, which according to research from the University of Kentucky Extension is ideal for week-old chicks. No hot spots, no cold corners. Chicks distribute themselves naturally instead of piling dangerously under a single bulb.
Is it more expensive upfront than a heat lamp? Yes. Will it potentially save your chicks' lives and definitely save your electric bill? Also yes.
- ✅ Eliminates fire risk from heat lamps
- ✅ Uses 93% less electricity
- ✅ Adjustable height grows with chicks
- ✅ Natural heating behavior
- ⚠️ Higher initial cost than lamps
- ⚠️ Only heats directly underneath
Heat Lamps: If You Must
Look, heat lamps are cheap and available everywhere. They also cause an estimated 200 barn fires annually in the US, according to the National Fire Protection Association. If you're going this route, take it seriously.
Use a ceramic socket rated for at least 300 watts-not a cheap plastic clamp light from the hardware store. Secure it with wire or chain so it cannot fall. Keep it at least 18 inches from all bedding. Use a red bulb instead of white; it reduces pecking behavior and doesn't disrupt their sleep cycle.
Start the bulb 18 inches above the brooder floor for day-olds, adjusting based on chick behavior. Huddled directly under? Too cold. Scattered to the edges, panting? Too hot. You want them loosely grouped with some exploring.
And for the love of everything feathered: have a backup heat source. Bulbs blow at the worst possible moment.
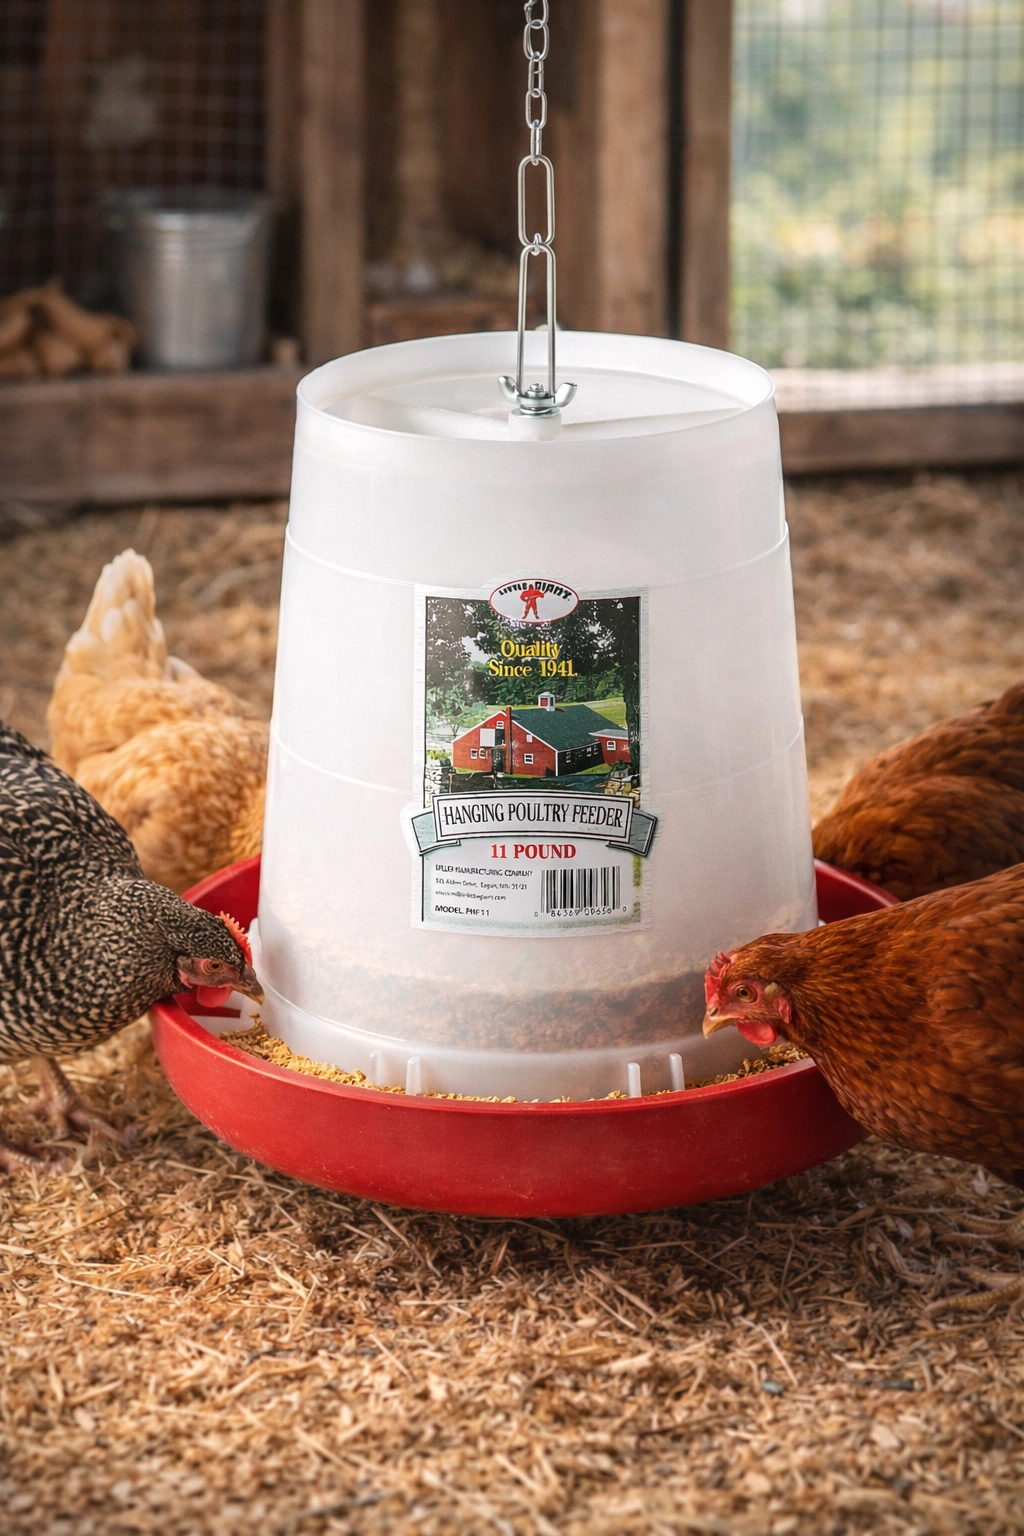
Little Giant Plastic Hanging Feeder
This hanging feeder solves the perpetual problem of chicks scratching bedding into their food and then refusing to eat it. The choice of 3, 11 and 22-pound capacity means you're not refilling twice daily, and the hanging design keeps it at perfect beak height as they grow.
The plastic is thick enough to handle enthusiastic pecking but light enough that it won't hurt anyone if it swings. The pan base catches spillage and is wide enough that even five chicks can eat simultaneously without warfare.
Hang it at chick back-height using the metal handle. As they grow, adjust the height using the chain or wire. By week two, this positioning prevents about 80% of the bedding contamination issue that plagues floor feeders.
Clean it every three days with hot water and a splash of white vinegar. Moldy feed kills chicks faster than most other mistakes combined.
- ✅ Keeps bedding out of feed
- ✅ 11-pound capacity reduces refills
- ✅ Adjustable height for growing chicks
- ✅ Easy to clean
- ⚠️ Takes up overhead space
- ⚠️ Plastic can crack if dropped
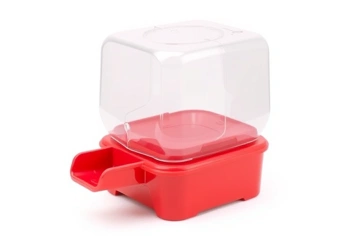
Harris Farms Drinker with Narrow Trough
Chicks can drown in a quarter-inch of water. This sounds ridiculous until you find one face-down in a standard waterer at 6 AM. The Harris Farms design has a narrow trough that makes drowning nearly impossible while still providing plenty of drinking access.
The one-quart size works perfectly for up to six chicks for about 12 hours. For larger flocks, get two and place them on opposite sides of the brooder. This reduces crowding and ensures even the timid chicks get access.
Elevate it on a small block or brick by day three. This keeps bedding out of the water and reduces how often you're dumping and refilling. I use a small terracotta pot base-stable, heavy enough it won't tip, and the right height.
Scrub it daily. Biofilm buildup in waterers is a fast track to bacterial infections, according to poultry health research from UC Davis. Slimy waterer equals sick chicks.
- ✅ Narrow trough prevents drowning
- ✅ Easy to fill and clean
- ✅ Stable base doesn't tip easily
- ✅ Clear reservoir shows water level
- ⚠️ Needs daily refilling for larger flocks
- ⚠️ Plastic can develop algae in sunlight
Bedding: What Works and What Kills
Pine shavings. That's it. That's the recommendation.
Not cedar-the aromatic oils damage developing respiratory systems. Not newspaper-too slippery, causes leg problems. Not straw-too coarse for tiny feet, harbors mold. Not sawdust-too fine, they inhale it and develop respiratory infections.
Large flake pine shavings give them traction, absorb moisture beautifully, and smell decent even after a few days of enthusiastic pooping. Buy the compressed bales from farm stores, not the tiny pet store bags. You'll need way more than you think.
Start with two inches of bedding depth. Add a thin layer every two days rather than waiting for a full cleanout. This keeps ammonia levels down and prevents that eye-watering smell that means you've waited too long.
For the first three days, lay paper towels over the shavings. Chicks are magnificently stupid about what's food, and they'll eat bedding if given the chance. The paper towels give them traction while they learn what feed looks like. Remove them once they're eating reliably.
Pre-Arrival Checklist: Set This Up 24 Hours Early
- Brooder box cleaned and positioned away from drafts
- Heat source installed and running-test temperature stability
- Two inches of pine shavings with paper towel layer on top
- Thermometer mounted at chick-back height, reading 95°F
- Feeder filled with chick starter (20-22% protein, unmedicated if chicks are vaccinated)
- Waterer filled with room-temperature water, elevated on small block
- Backup heat source available and tested
- First aid kit: electrolyte powder, small dropper, spare bulb if using lamp
- Lid or screen if using an open-top brooder-cats and dogs are curious
The Mistakes I Made So You Don't Have To
My first batch of chicks arrived on a Tuesday. I built the brooder on Tuesday. Three chicks developed pasty butt by Wednesday because the stress of my fumbling setup wrecked their digestion. One died Thursday morning despite my frantic attempts at midnight cleaning.
Set up your brooder 24 hours before your chicks arrive. Let it run. Check the temperature at midnight and at 6 AM. Make sure your heat source isn't creating a 20-degree swing when the garage cools overnight. Discover that your feeder tips easily before there are living creatures depending on it.
I also learned that chicks don't need light 24/7 despite what half the internet claims. They need about 16 hours of light and 8 hours of darkness, according to poultry welfare research from Michigan State Extension. Constant light leads to exhausted, aggressive chicks. Use a timer.
And keep a notebook. Write down temperatures, when you added bedding, any weird behaviors, what you adjusted. By your second batch, you'll have a customized system that works for your specific setup instead of frantically googling symptoms at midnight.
What About Medicated Feed?
This depends entirely on whether your chicks are vaccinated for coccidiosis. Most hatcheries offer the vaccination, and if your chicks received it, medicated feed will counteract the vaccine. Read your shipping paperwork.
If they're unvaccinated, medicated starter feed with amprolium helps prevent coccidiosis, a parasitic disease that's the number one killer of young chicks in home flocks. It's not an antibiotic-it's a thiamine blocker that disrupts the parasite's life cycle.
Personally? I get vaccinated chicks and use unmedicated organic starter. It costs more, but I've had zero coccidiosis in five years with good brooder hygiene. Your mileage may vary, especially if you're in a humid climate where the parasite thrives.
Either way, use a starter feed with 20-22% protein for the first eight weeks. Their growth rate demands it. Scratch grains and treats come later, once they're established.
When Can They Go Outside?
Not before they're fully feathered, which takes about six weeks depending on breed. Those adorable fluff balls aren't real feathers-they're down. Real feathers have structure, overlap, and provide actual insulation.
Even with full feathers, don't move them outside if nighttime temperatures are dropping below 50°F. Acclimate them gradually-a few hours in a protected outdoor pen during warm afternoons, back to the brooder at night. Watch for huddling, which signals they're cold.
Your brooder isn't a permanent home. It's intensive care for fragile babies until they're robust enough for real life. Plan for that six-week timeline, resist the urge to rush them into the pretty coop you built, and you'll end up with healthy birds instead of regrets.